Manage Transportation
The Manage Transportation page will help admins to manage Trip Categories, Departments and Vehicle Types.
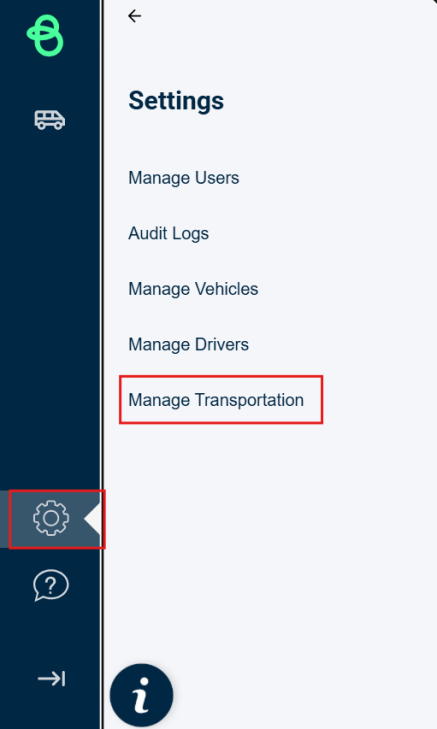
To navigate to this page, click the Settings icon on the left and select Manage Transportation option.
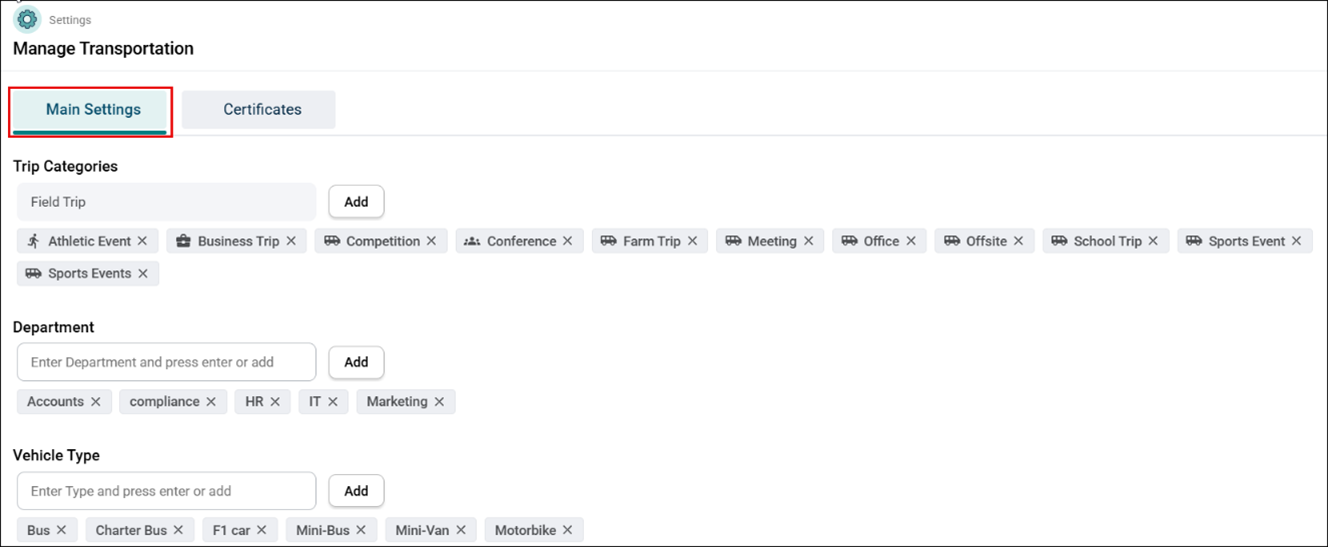
The Manage Transportation page has two tabs:
-
Main Settings
-
Certificates

Main Settings
In the Main Settings tab, admins can manage Trip Categories, Departments, and Vehicle Types.
NOTE Any new trip category, department or vehicle type that you add here will appear in the drop-down options on the Request a Trip tab.
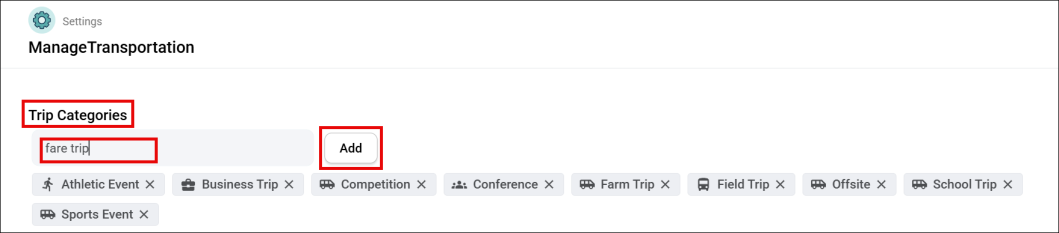
Add a New Trip Category
-
Enter the desired category name in the given field.
-
Click the Add button.
Add a New Department
-
Enter the desired department name in the given field.
-
Click the Add button.

Add a New Vehicle Type
-
Enter the desired vehicle type in the given field.
-
Click the Add button.

NOTE Any new trip category, department or vehicle type that you add here will appear in the drop-down options on the Transportation Request page.
To Delete an Option
-
Click the cross symbol next to the option you want to delete.
-
A pop-up will appear on the screen asking if you are sure of deleting this, click Yes.
-
The option will get deleted.
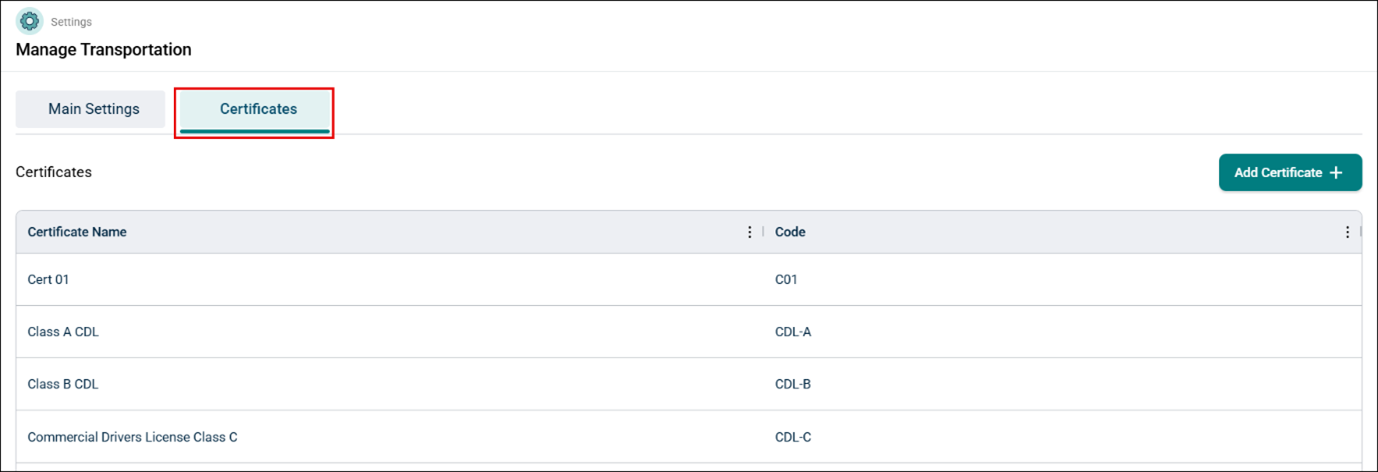
Certificates
Certificates are essential for ensuring that only qualified drivers are assigned to trips. This system integrates certificate validation into trip planning with automated, real-time checks, allowing admins to proactively track and manage driver certifications and expiration dates. If a driver’s certification is expired or missing, the system displays a warning, helping to reduce compliance risks and liability.
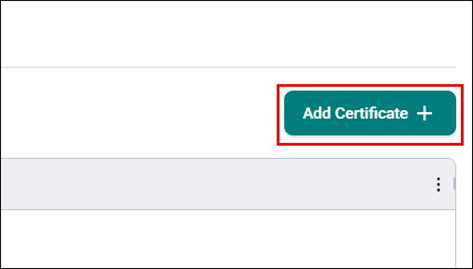
Add Certificates
-
Click the Add Certificate button.
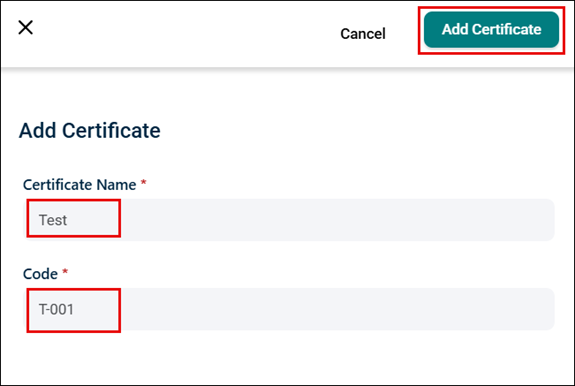
The Add Certificate side popup window will appear.
-
In the popup window, perform the following:
-
Enter Certificate Name.
-
Enter Code
-
-
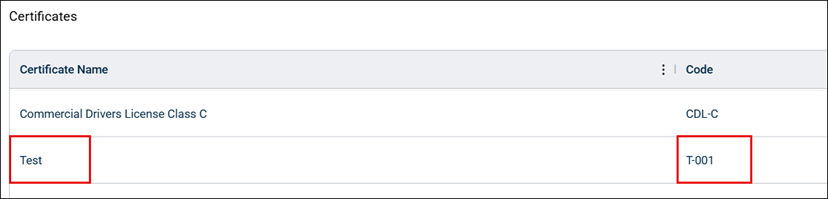
Click the Add Certificate button.
Once added, the certificates will appear in the list.